The journey will we start from install Raspberry Pi OS (previously Raspbian) on microSD card. We can make this on several ways. Today I will show you one of them!
Imager – easy install
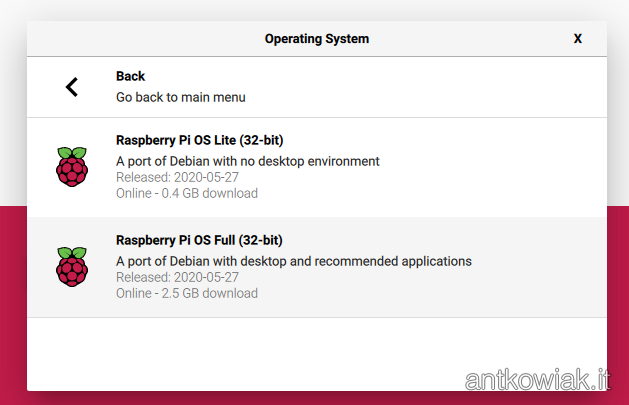
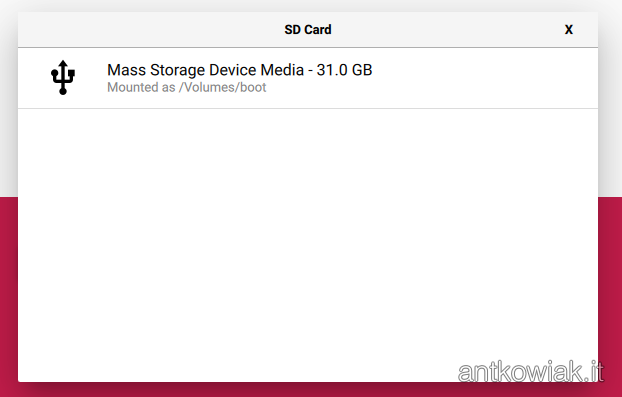
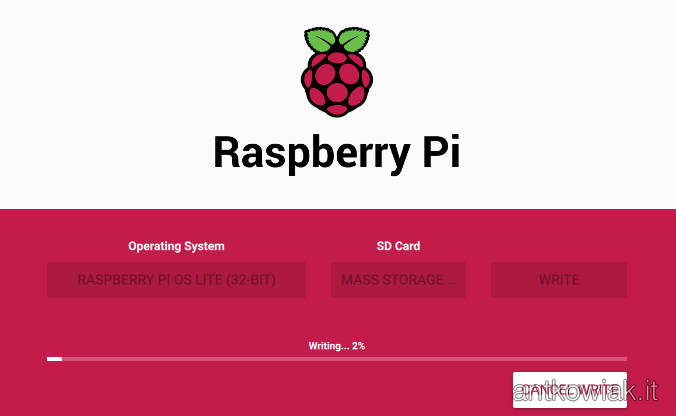
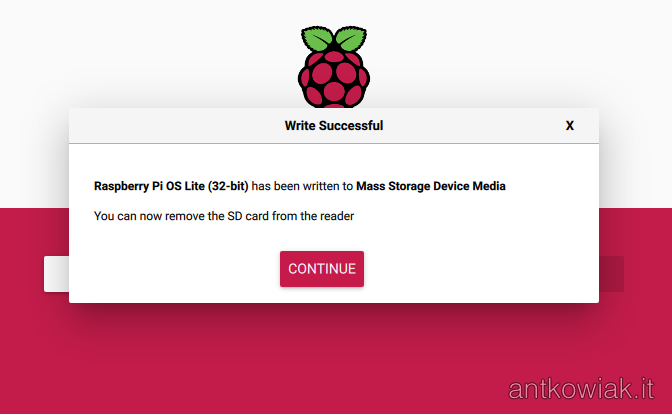
Open website: https://www.raspberrypi.org/downloads and download Imager for your operating system. After download install and open it! Next we need to select intresting to us operating system e.g. Raspberry Pi OS Lite (32-bit), connected microSD card on which we want to install OS. After selecting we need to click WRITE. And that’s all, make a coffee in waiting time :).
What we should do after installation
After installation, it is recommended to make a few additional steps which help us to work with Raspberry. As I choice LITE version without GUI (graphical user interface) I will connect through SSH.
In default configuration for security reason SSH is disabled, to enable it should add empty file in root directory on memory card named ssh without extension.
However this is not enough because I would like to use WiFi connection. To configure WiFi before turn on device we need to create in root directory file named wpa_supplicant.conf with contains:
ctrl_interface=DIR=/var/run/wpa_supplicant GROUP=netdev
update_config=1
country=PL

network={
 ssid="Nazwa sieci WiFi"
 psk="hasło do sieci WiFi"
}
Remote connection to Raspberry
After successful configuration and power connection Raspberry will connect itself to our WiFi network. We can connect to device through SSH, to do this we can use hostname in default it is raspberrypi or IP address issued by DHCP.
Default login is : pi password: raspberry
Recommended actions after first logging in
- Package update by entering command:
sudo apt-get update && sudo apt-get upgrade -y - Run the Raspberry Pi OS configuration using the command
sudo raspi-configand make the next steps: - Change password for user pi. (raspi-config->1)
- Change hostname (raspi-config->2->N1) on its own, then we will be able to connect using our own name e.g.
ssh [email protected]. - Change locale and timezone (raspi-config->4->I1 oraz I2).
- If your not use GUI reduction graphic card memory (raspi-config->7->A3) to 16MB.
- Reboot by command
sudo rebootor if configurator ask clickyes:).
What’s next?
Next steps i will describe in the next posts, so I encourage you to follow! 🙂